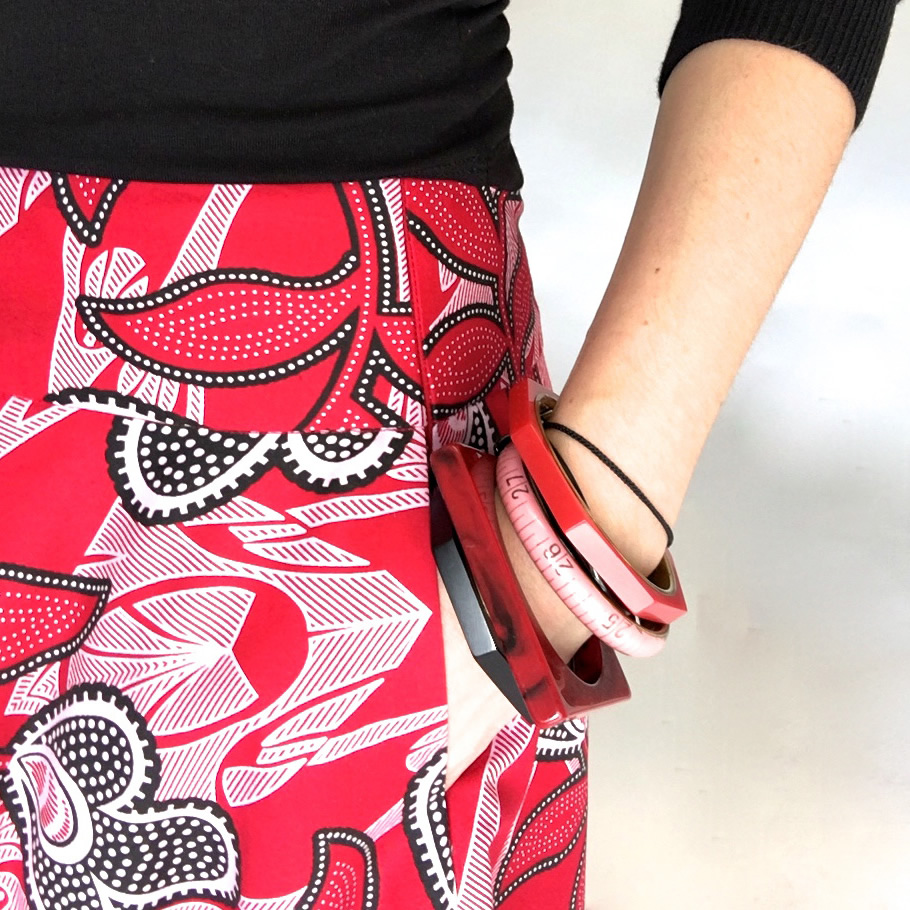
I’m having a bit of a love affair with this fabric at the moment and amidst the mayhem of wedding dresses in the studio decided that life couldn’t go on unless I made this fabric up into a skirt. I used a yoke from an old Burda pattern (8677 incase you are interested – but I’m not sure if it is still in print) and then drafted the skirt as a half circle (two quarter circles) to fall from the yoke to maximise the fabulous print. At the last moment I decided to add pockets to my skirt. Everything is better with pockets, right? So I drew myself a side seam pocket pattern (you could borrow one from another pattern), shaping the top edge to match the top edge of my skirt panel, so that it would be caught into the seam when later attaching the yoke. I cut 4 pieces from... read more
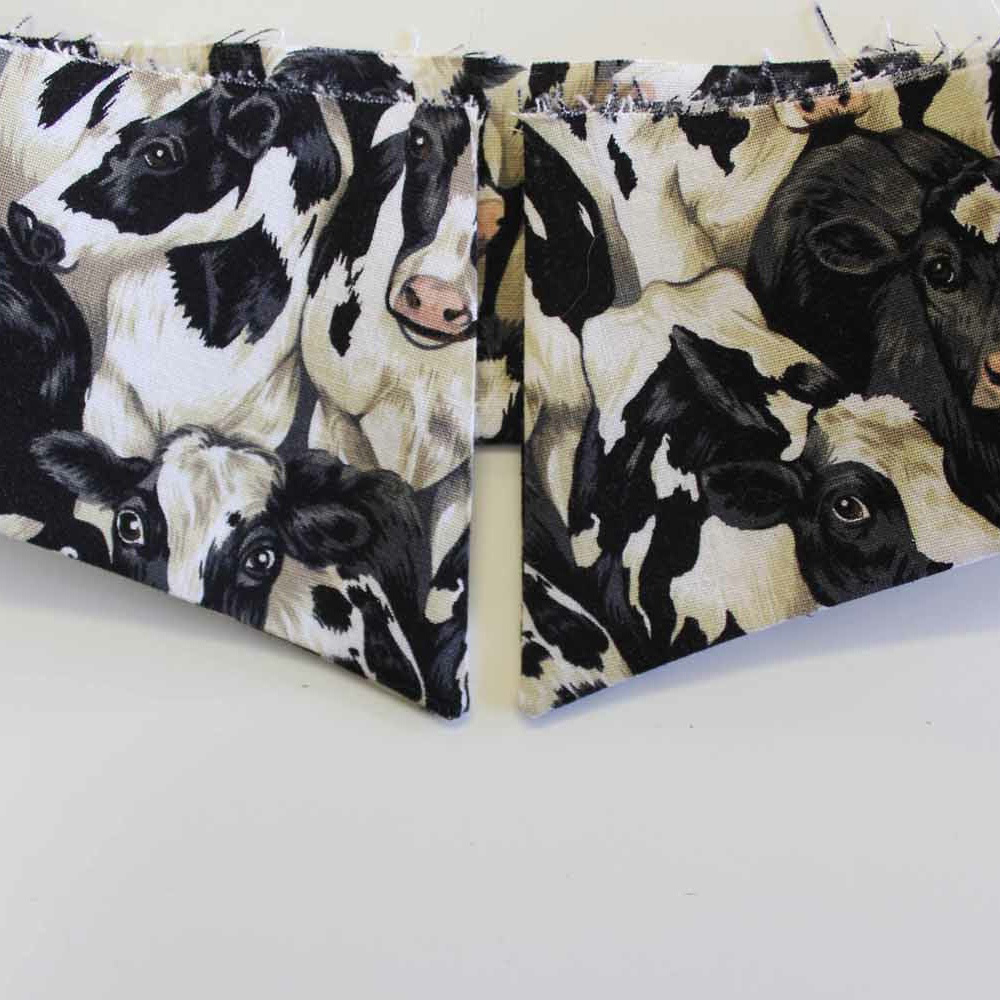
You know what it’s like when you’ve got a favourite garment? The fit’s just right, the colours go with everything, and the fabric has that lovely worn-in softness that only comes with years of love. Well, this shirt is just so for me. I’ve worn it year in, year out in summer and in winter. I made this shirt years ago and in the 4 times I’ve moved house since, thought I’d lost the pattern. But in a recent sort out of the stuff under the cutting table it turned up, Yay! So I recently made another… And since I was on a roll, another. In Christmas fabric! Since I’m in a shirt making frenzy at the moment, what with making them for Christmas gifts too, I thought I’d share with you a couple of methods of getting a sharp corner on a collar. These are the two ways I use frequently to get... read more
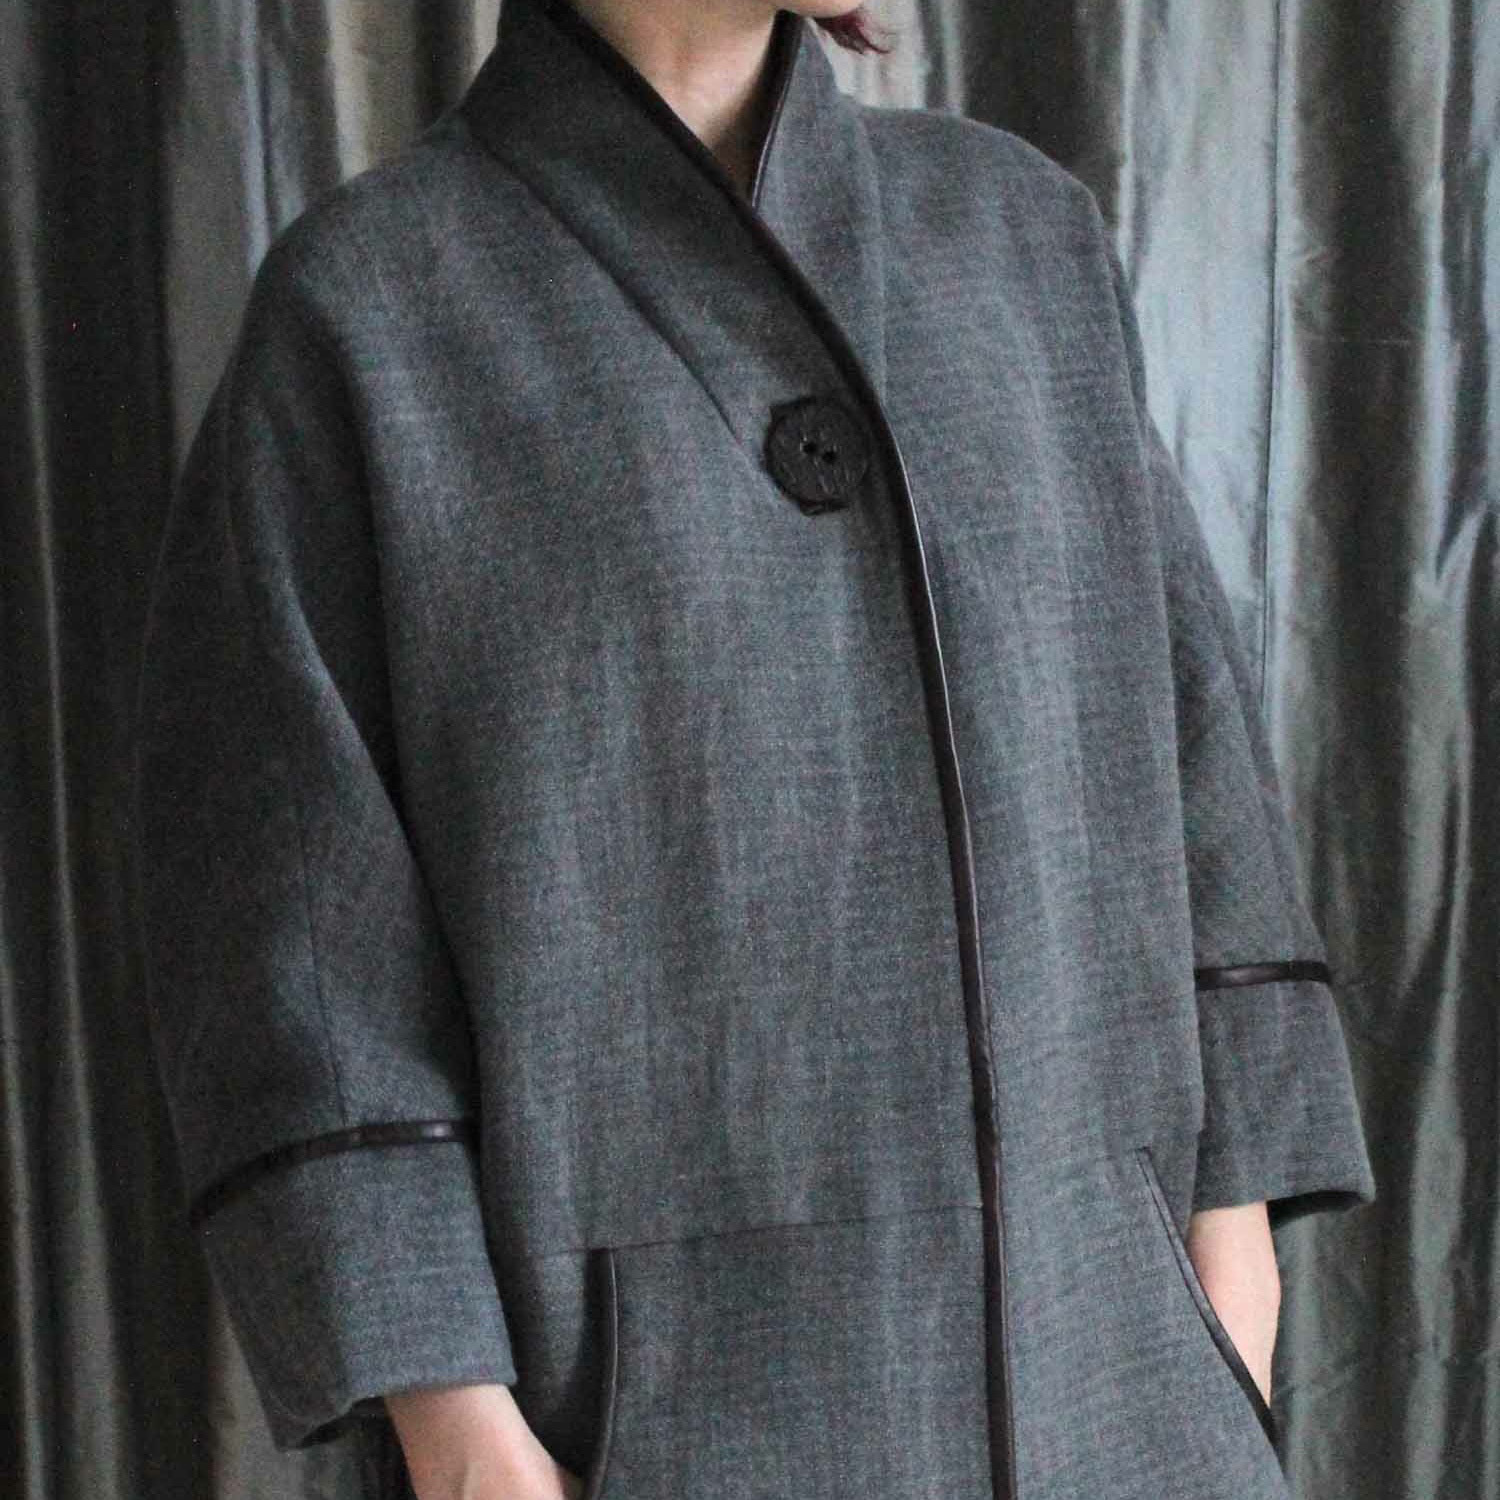
Two winters ago I cut out a coat in some beautiful grey wool that I bought in Ditto, but time was not on my side and Spring had sprung (twice) before I’d finished sewing. The coat pieces were relegated to a carrier bag and banished to the piles of denial beneath the cutting table. Although I don’t make New Year’s resolutions I did promise myself that this year I’d try to finish some of my started projects and not leave anything hanging around in bags gathering dust. So it’s been my mission this week to get this coat finished. I’m hoping to wear it tomorrow on our class trip to London, there’s nothing like a deadline! And here’s the finished article, I really rather like it, what do you think? The pattern I used was Burda 7131, option B. As ever, I didn’t quite stick to the pattern (I added a... read more
Unpicking is unfortunately an inevitable part of dressmaking. However carefully you’ve placed your pins or even tacked a seam, at some point you’ll need to undo misplaced stitches. If like me you are fond of secondhand clothes and frequent your local charity shops you may also spend a fair amount of time altering factory made garments. Here is my guide to the tools you should have for unpicking and how to undo some of the most common stitches. Essential tools: Unpicker, scalpel or Stanley knife blade, small scissors or snips, good light, very good eyesight or possibly a magnifying glass, and a few pins…. Common stitches: Straight seam To get the best use from our unpicker we must first understand it’s anatomy. You probably think I’ve lost the plot right now, but bear with me. There is a small blade for slicing through stitches, a pointed end to guide the... read more
If you use a lot of commercial sewing patterns then like me you probably get frustrated that every time you move around your work, the pattern paper takes off and floats away from where you are tying to pin it down. Well, no more! I have been meaning to make some of these useful little weights for ages, they are really handy when you are working out the initials layout of a pattern but aren’t ready to pin yet. They are super easy to make and with the addition of dried lavender, are deliciously scented too. Here’s a step by step tutorial of how to make pattern weight, this is a great little project for kids and a great way to use those pretty little scraps that you can’t bear to throw away. I started by making a nice cup of tea, a had a sneaky cookie (which by the... read more
I was out shopping and spotted this beautiful wool/cashmere mix in Ditto. I knew it wasn’t a good idea for me to make a garment (such a fine, loose weave wool is fairly disastrous when you have pets), so I bought a square and decided to make a shawl. It is such simple thing to do, and allows you wear a piece of fabric you love without making a long term commitment. You could still turn it into something else later. First step was to straighten the grain. Pull one thread from the selvedge of the fabric near the cut edge, I used tweezers to ensure only grabbing one thread… When you pull the thread out it will leave a slight ‘shadow’ giving you a perfectly true line to cut along. Select a very narrow zig zag stitch… Once the edge is cut true, zig zag stitch along parallel to... read more
This is a fairly common alteration but a little time consuming and quite fiddly. Having said that if you have a beautiful jacket but the sleeves are too long it’s really useful to be able to do this job at home, follow this tutorial to achieve a professional finish and save money having it altered by a tailor. You may be feeling a bit daunted but don’t worry, I’ve even taught relative beginners to tackle this alteration in my classes. Note: All of the pictures for this tutorial are featuring a left hand sleeve, First things first, establish the new desired hem line. Try the jacket on and pin it up to the level you’d like it… For a classic man’s jacket this is just about skimming the top of the hand, leaving space for a bit of shirt cuff to show at the wrist, like so… Take the jacket off and transfer the hemline... read more
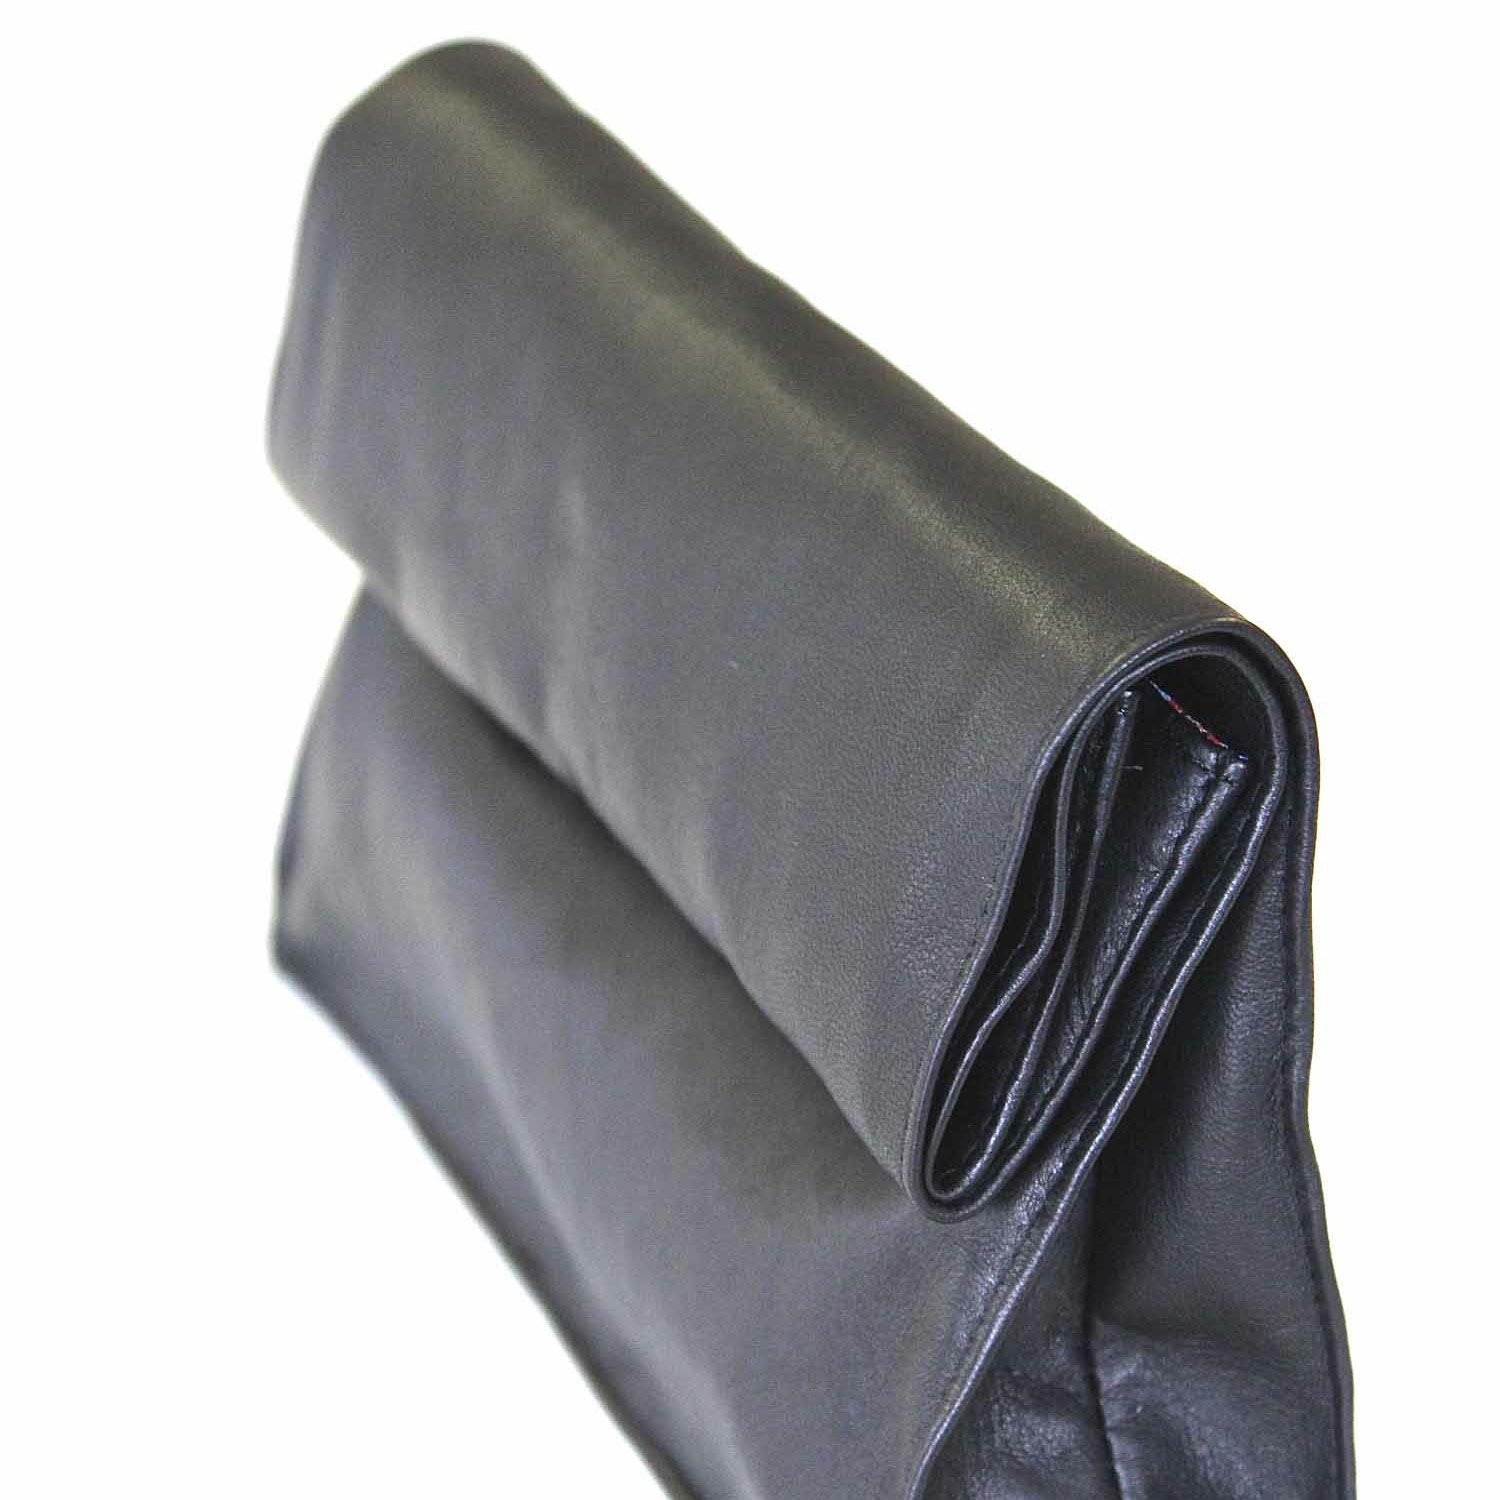
I recently purchased a walking foot for my sewing machine. Without being over dramatic IT HAS CHANGED MY LIFE! There are certain materials that can render even an experienced dressmaker to a gibbering wreck, reaching for the nearest bucket of gin (I love the idea that you might just happen to have one lying around for emergencies). For me this material has always been leather, but armed with my new foot last week I merrily set about the task of making myself a leather jacket. It has been so much fun and so successful that I thought I’d make a little clutch bag from the left over leather, and share with you so you can have a go for yourself. First of all, decide on the size of you bag. The bag is designed to be turned down twice much as you might fold a paper bag containing sandwiches or a chunk of cake. Draw... read more
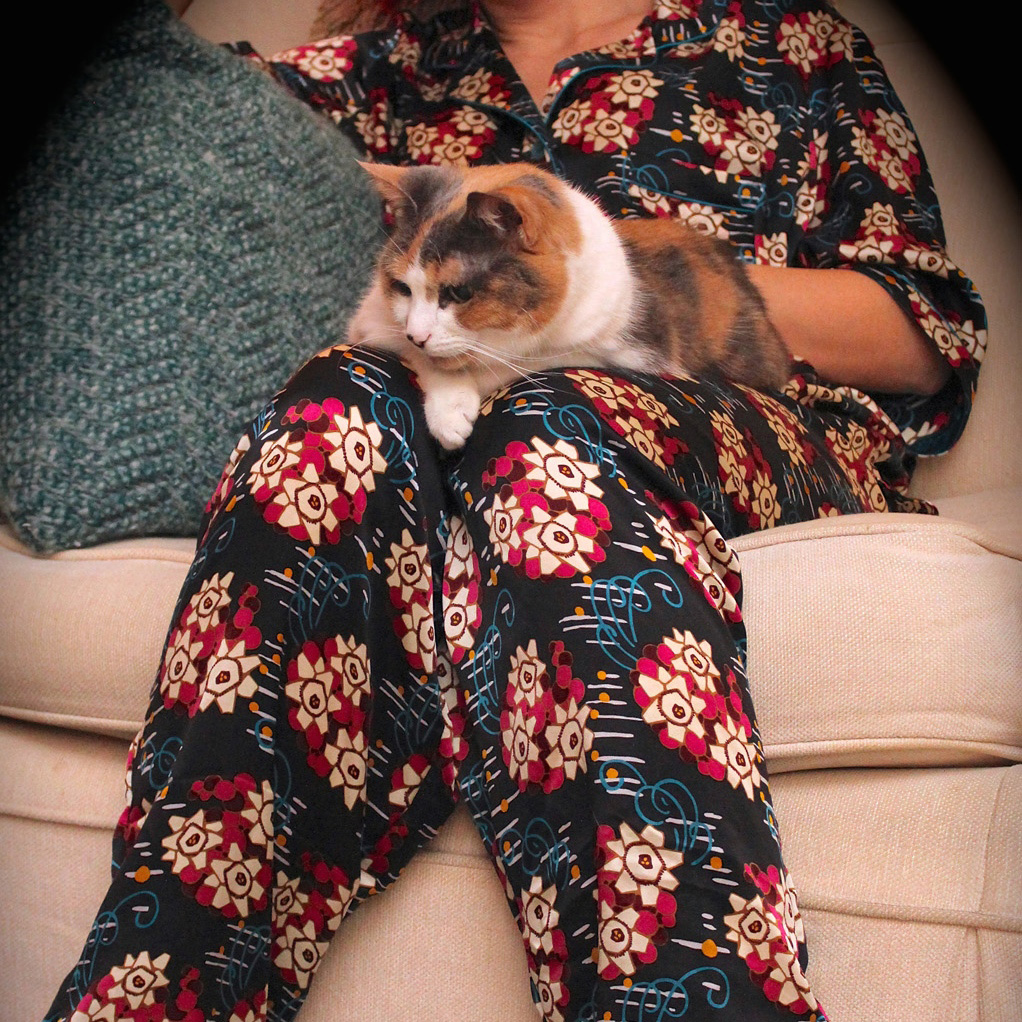
I’ve had this piece of fabric for years and always imagined that it would become a Maxi dress, but when I held it up in front of the mirror I felt that the pattern was a little bit too repetitive for a dress, and may be overpowering. After the Great British Sewing Bee there has been a new wave of students starting dressmaking classes. Since my suggested first project is usually a pair of pyjamas bottoms, there have been quite a few pairs being made in the studio recently. Truth be told I’ve been a little envious, so this week I treated myself to a pair of freshly made pyjamas. The floral silk takes centre stage… Technically there was no where near enough fabric to make Pyjamas, I was 1.2metres short, but I like a challenge so was determined to prove the pattern company wrong. As the design is large... read more
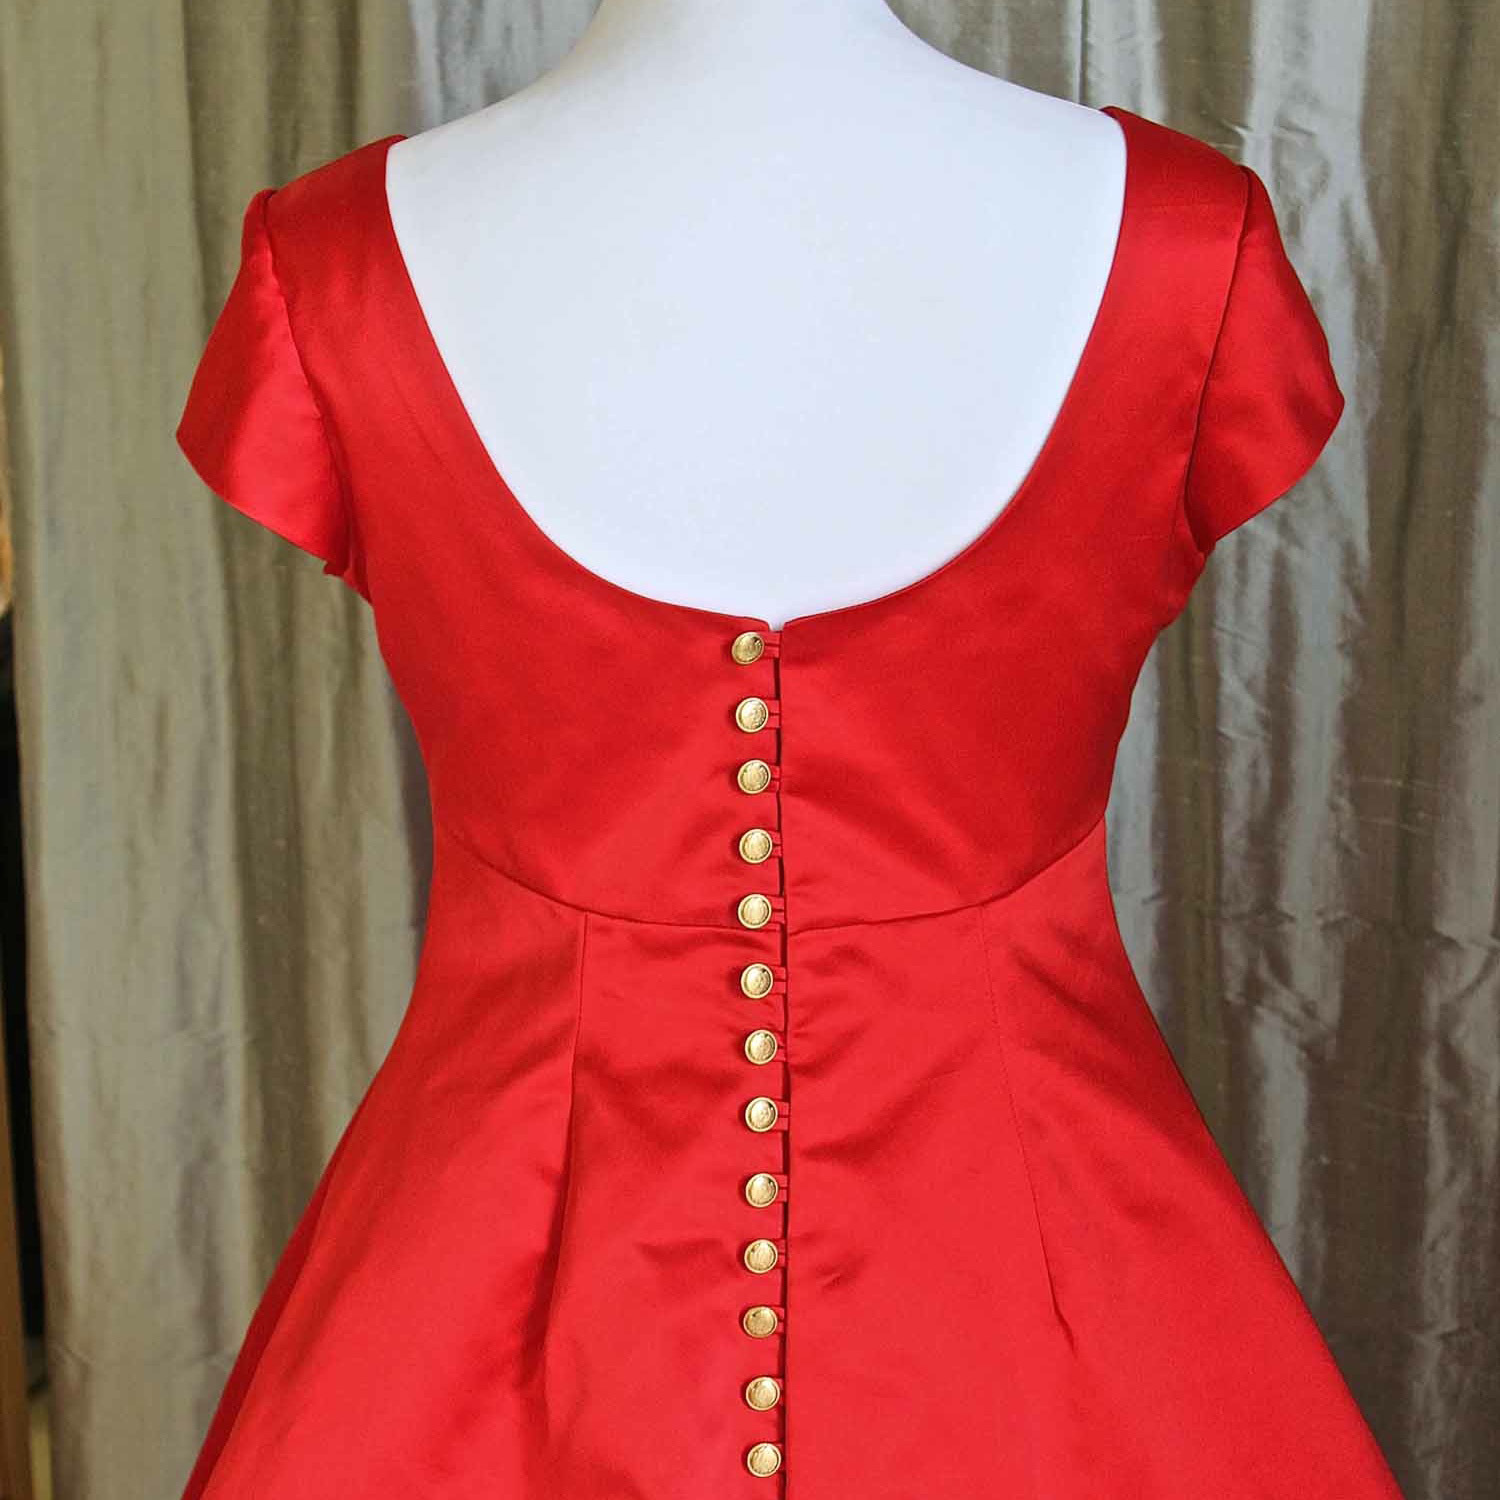
Over the years I have been lucky enough to make many dresses for really fantastic clients. In 2011 on a very rainy February day, Angelina wed Jo, wearing a bespoke gown and jacket that I made for her. The process of having a bespoke dress made is very special and I often become good friends with my clients during this important journey. Since Angelina’s wedding dress, I have made her a very special maternity party dress for her Birthday… and now a dress in fabulous red silk to wear to the wedding of one of her bridesmaids. And there is another commission in the pipeline, a green silk flapper style party dress. Watch this space… Here is a mini-tutorial about how to make rouleau loop fastenings: I just wanted to show you this before it is lost forever, I am using Louis Feraud haute couture fabric, feeling a bit posh! Lay... read more