
Over the years I have been lucky enough to make many dresses for really fantastic clients. In 2011 on a very rainy February day, Angelina wed Jo, wearing a bespoke gown and jacket that I made for her.

The process of having a bespoke dress made is very special and I often become good friends with my clients during this important journey. Since Angelina’s wedding dress, I have made her a very special maternity party dress for her Birthday…

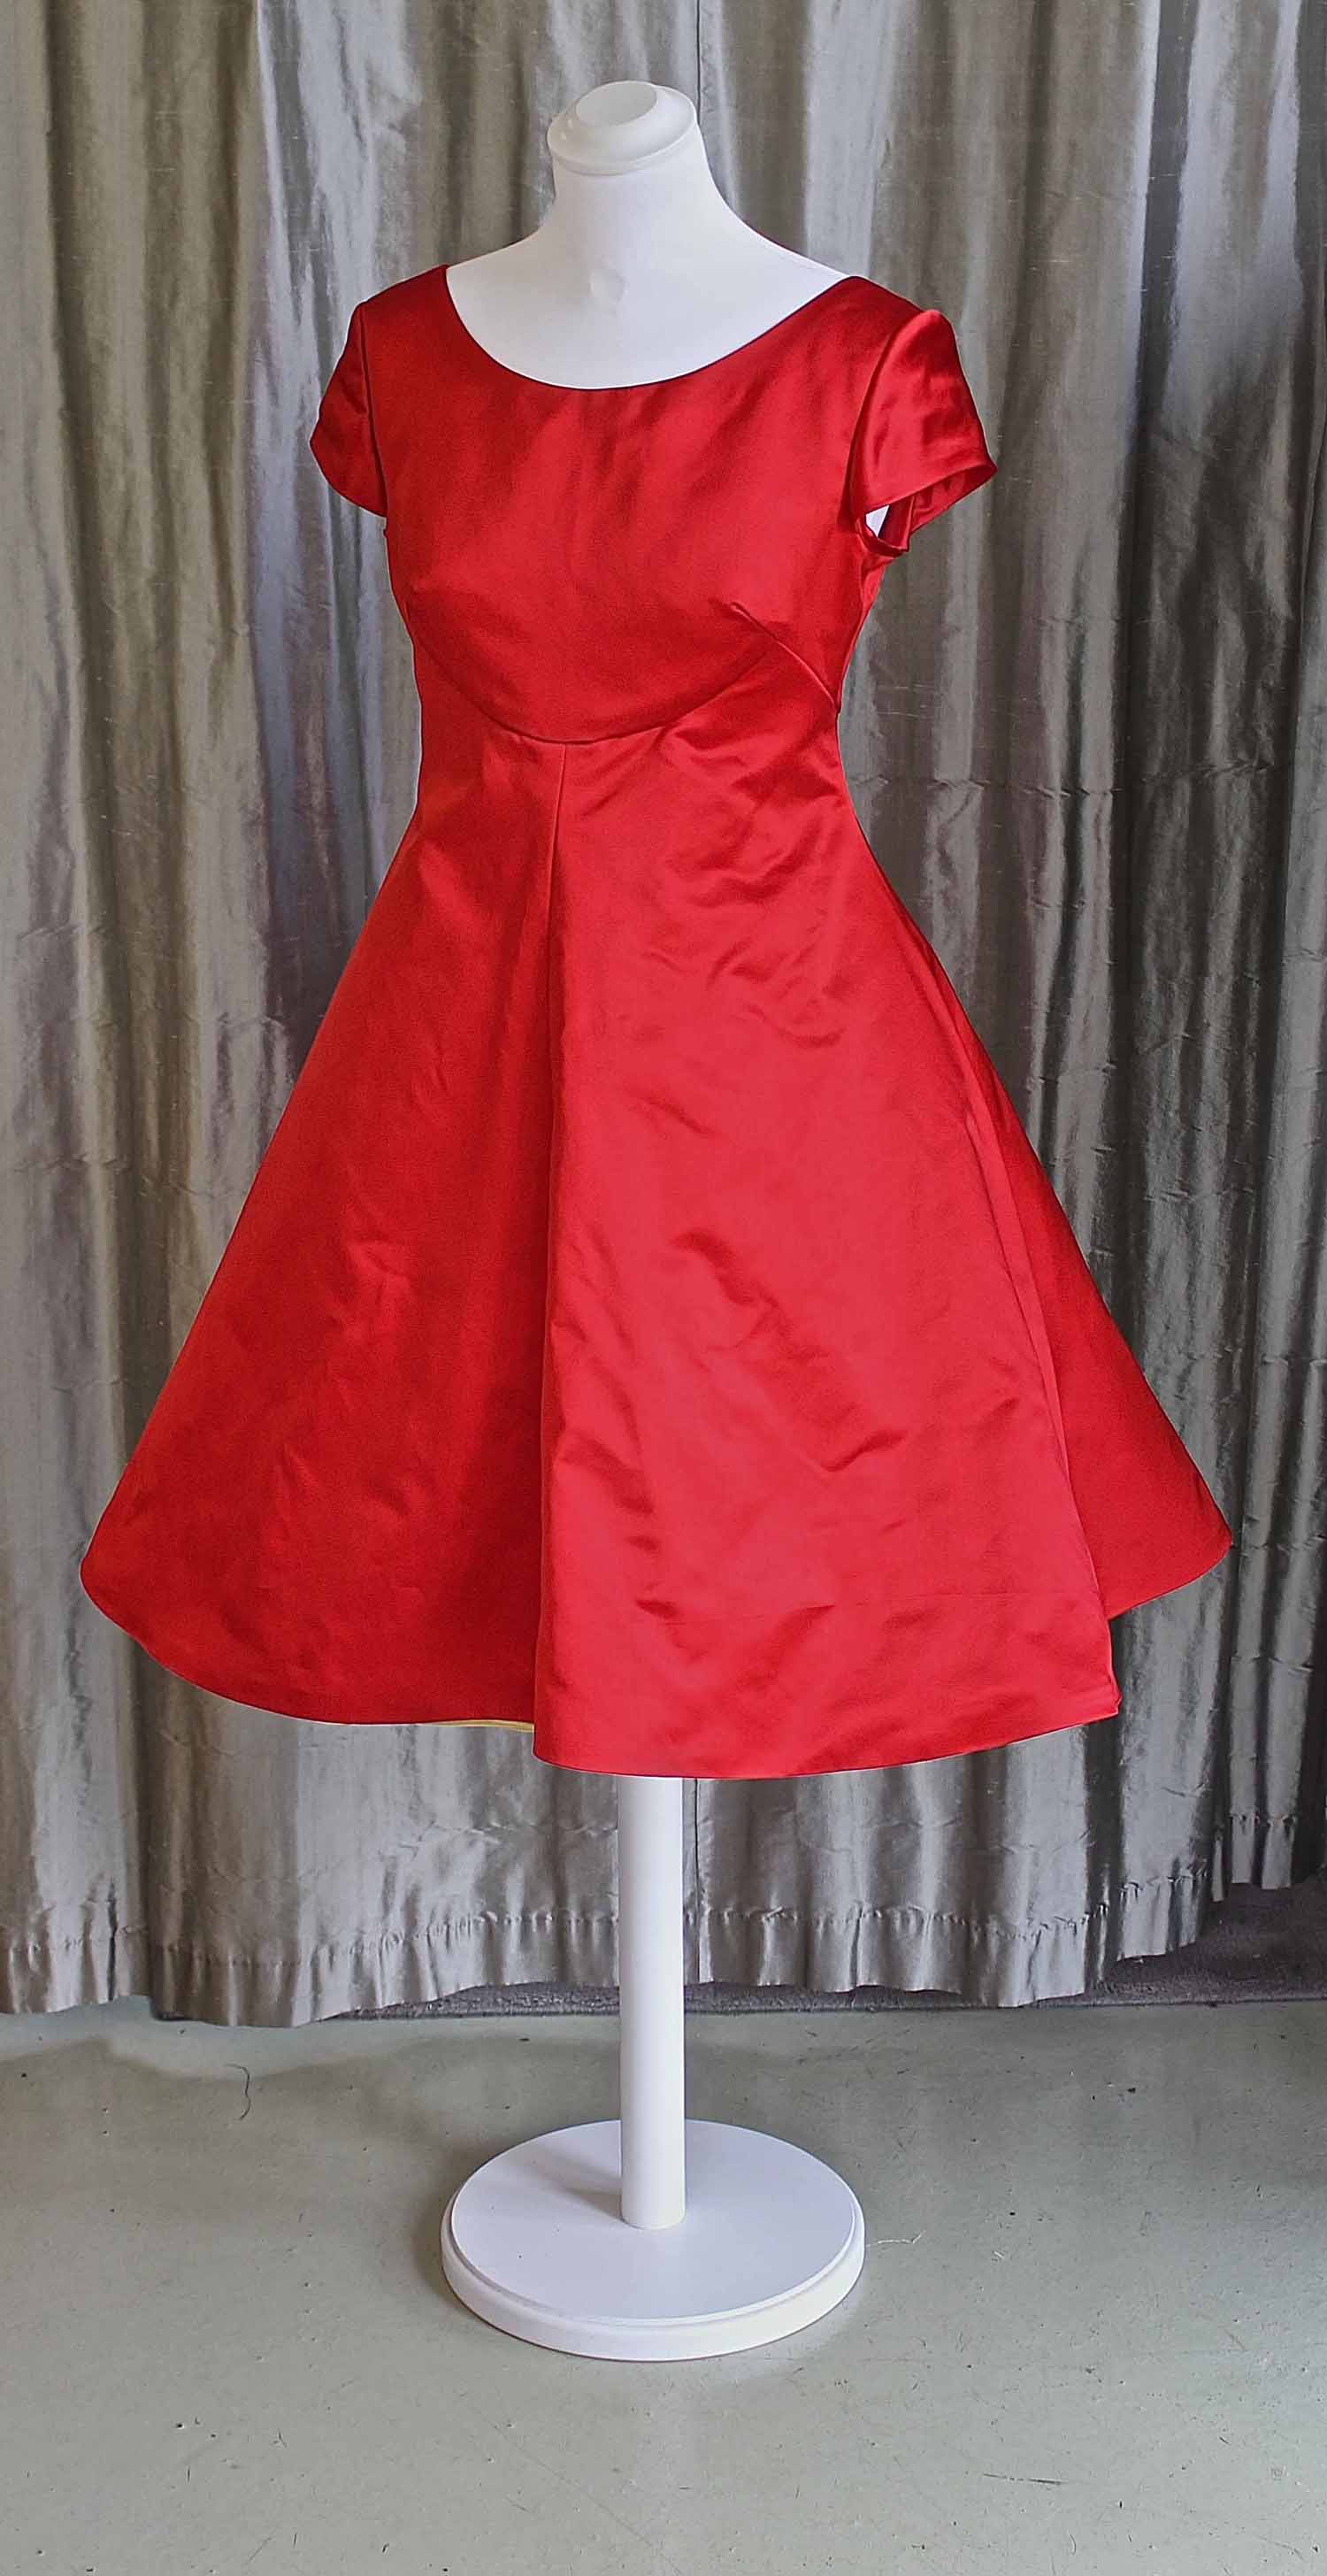
and now a dress in fabulous red silk to wear to the wedding of one of her bridesmaids.
And there is another commission in the pipeline, a green silk flapper style party dress. Watch this space…
Here is a mini-tutorial about how to make rouleau loop fastenings:
I just wanted to show you this before it is lost forever, I am using Louis Feraud haute couture fabric, feeling a bit posh!
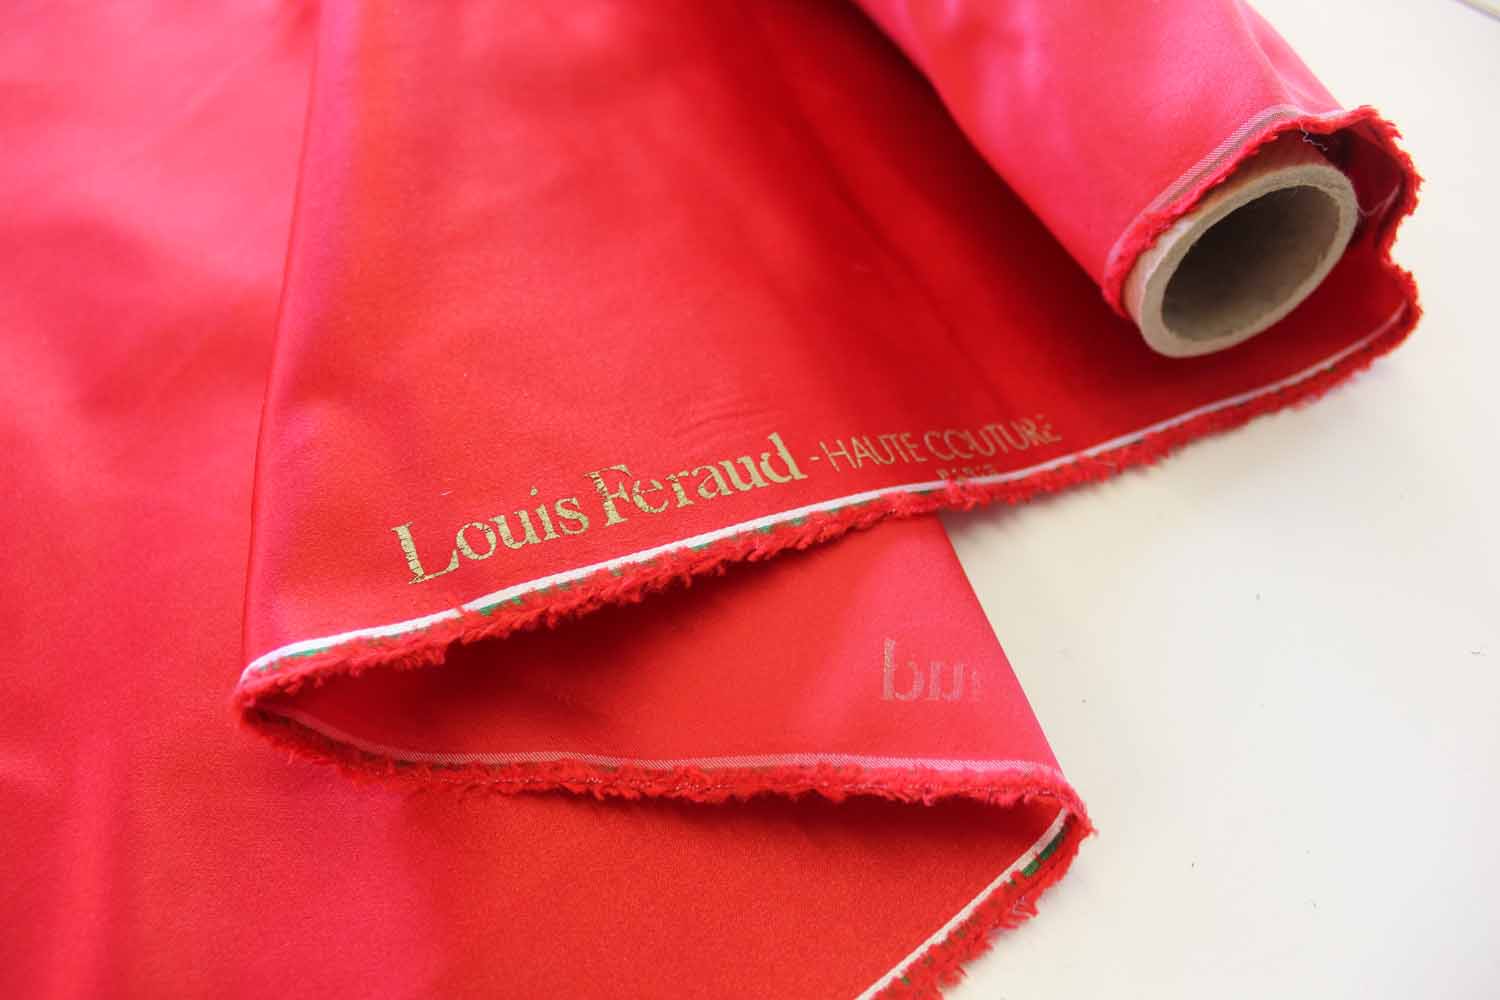
Lay out your fabric then mark and cut strips of fabric across the true bias (diagonally between the cut/torn edge and the selvedge). The width of your strips will have a direct impact on the chunkiness of the finished rouleau so be prepared to experiment to see what best suits your fabric. Here I am using a silk duchess satin cut in 1 inch strips.
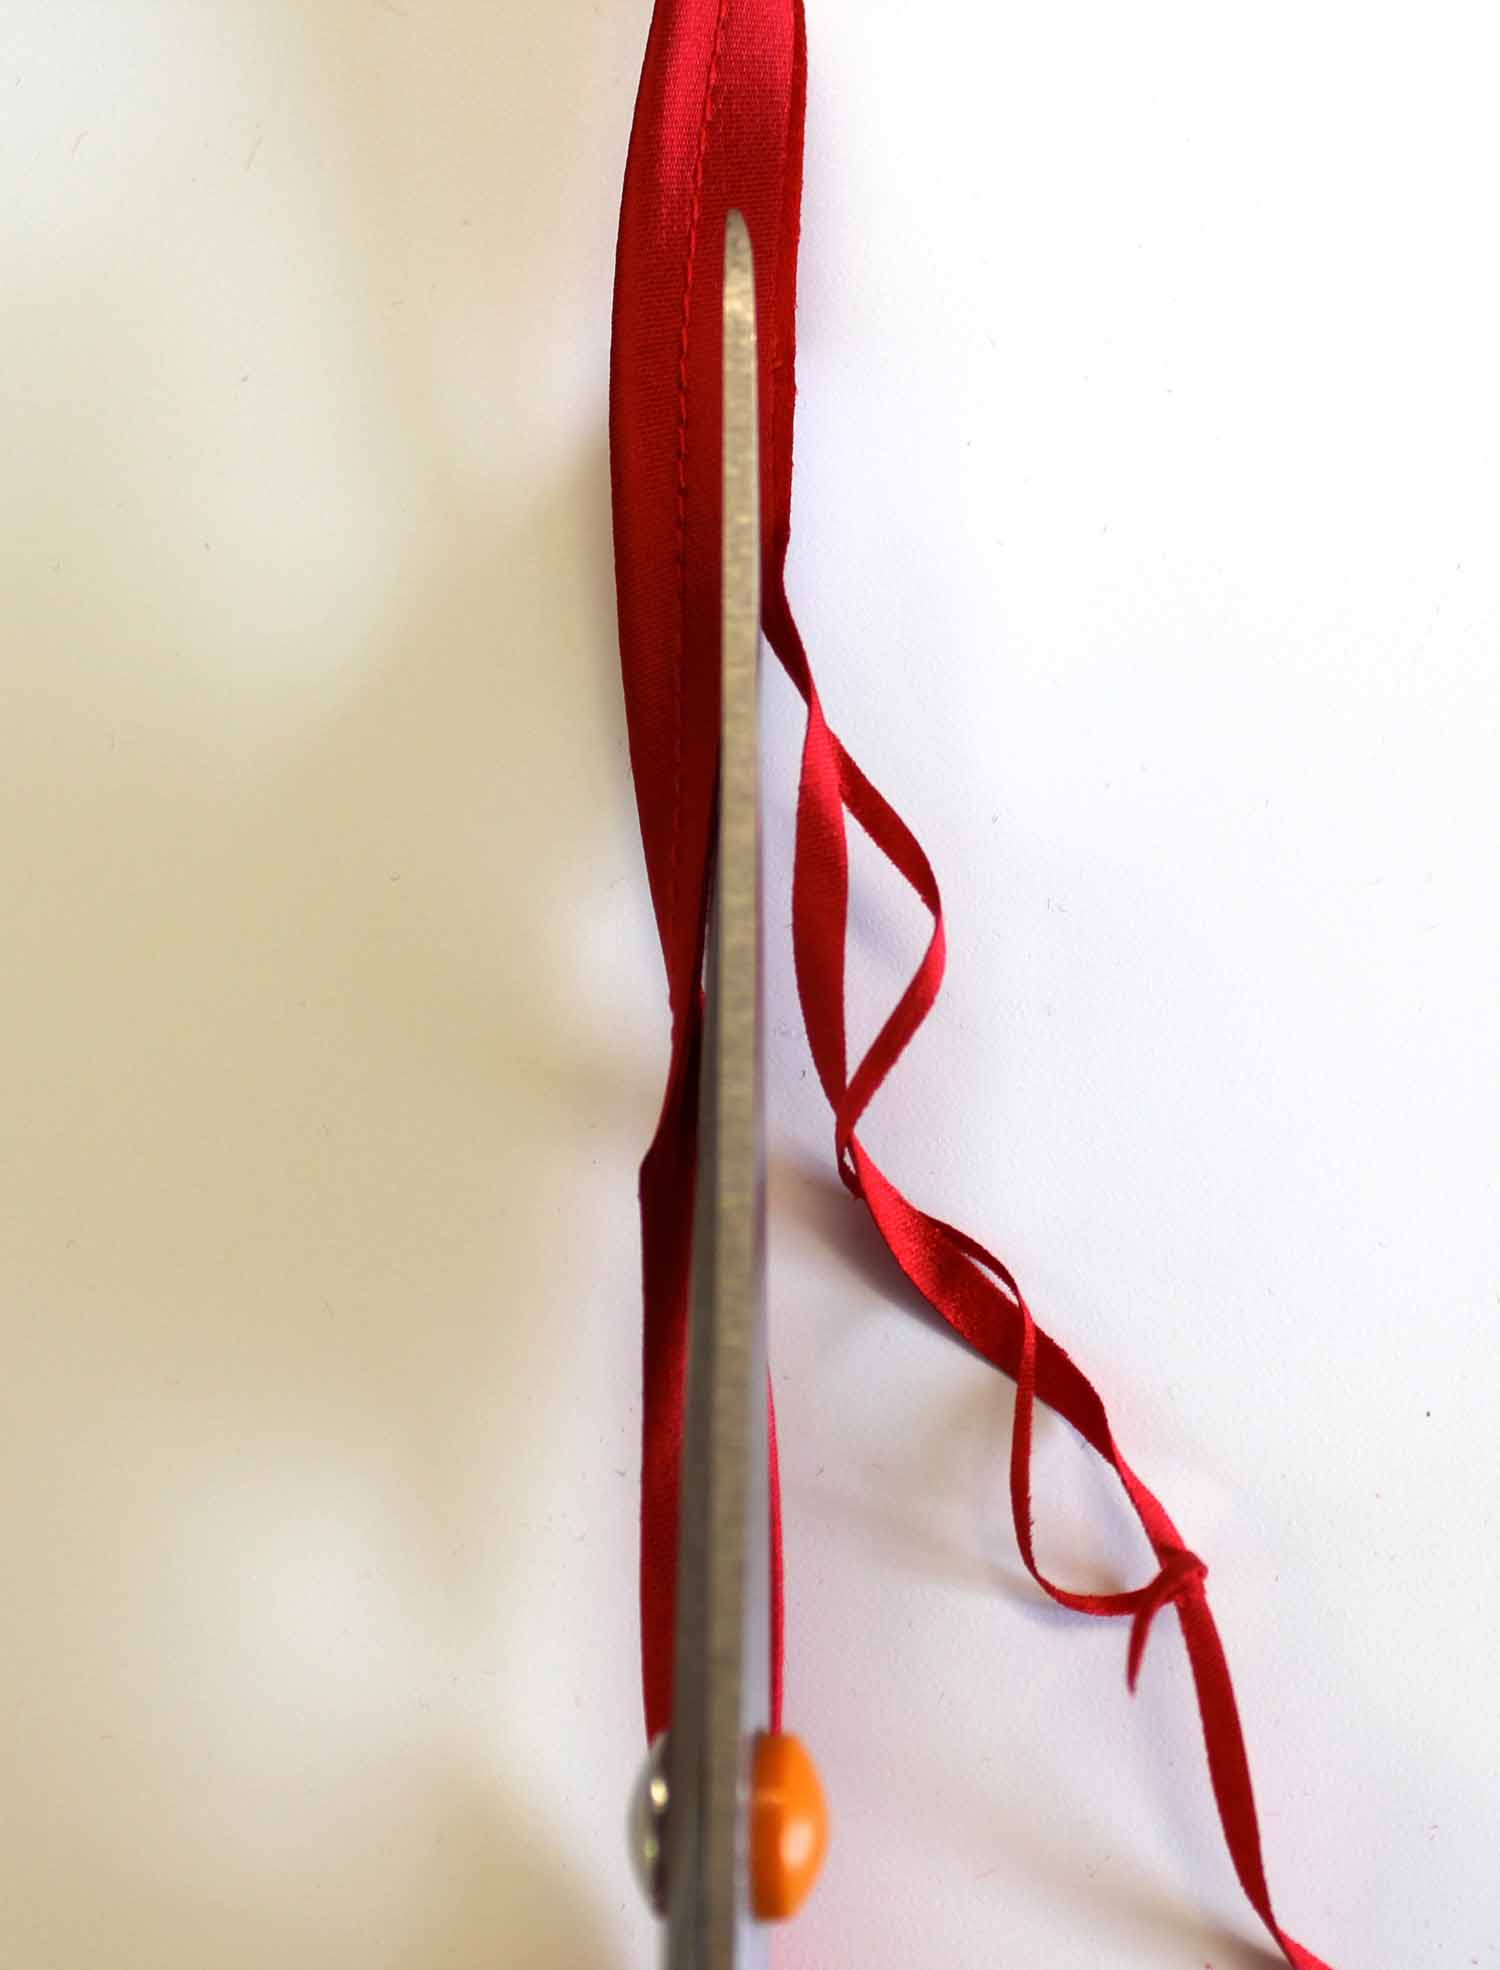
With right sides together, fold the strips in half lengthways and sew down the length, keeping an even distance (i have used 5mm) from the folded edge.

As my fabric is very crisp I needed to trim away some of the excess fabric from the raw edge, I cut the fabric down to be slightly narrower than the 5mm
But if you are using very fine, soft or stretchy fabric this may not be necessary, as I said before there is no absolute rule for making rouleau so do experiment!
Feed the rouleau hook into the tube of fabric until the hook emerges at the other end.

Then when the hook has emerged, latch it round the end of the fabric.


Gently pull the hooked end back into the tube, keeping tension on the hook so that it doesn’t come unlatched. Ease the fabric along until the rouleau is turned right side out.

You can use your rouleau for spaghetti straps, lacing, or even Chinese knot-work frogging, or as I have here as button loops.
First wrap the rouleau round the middle of one the buttons, leaving 1.5mm excess at each end which will be used to anchor the loop into the seam allowance.
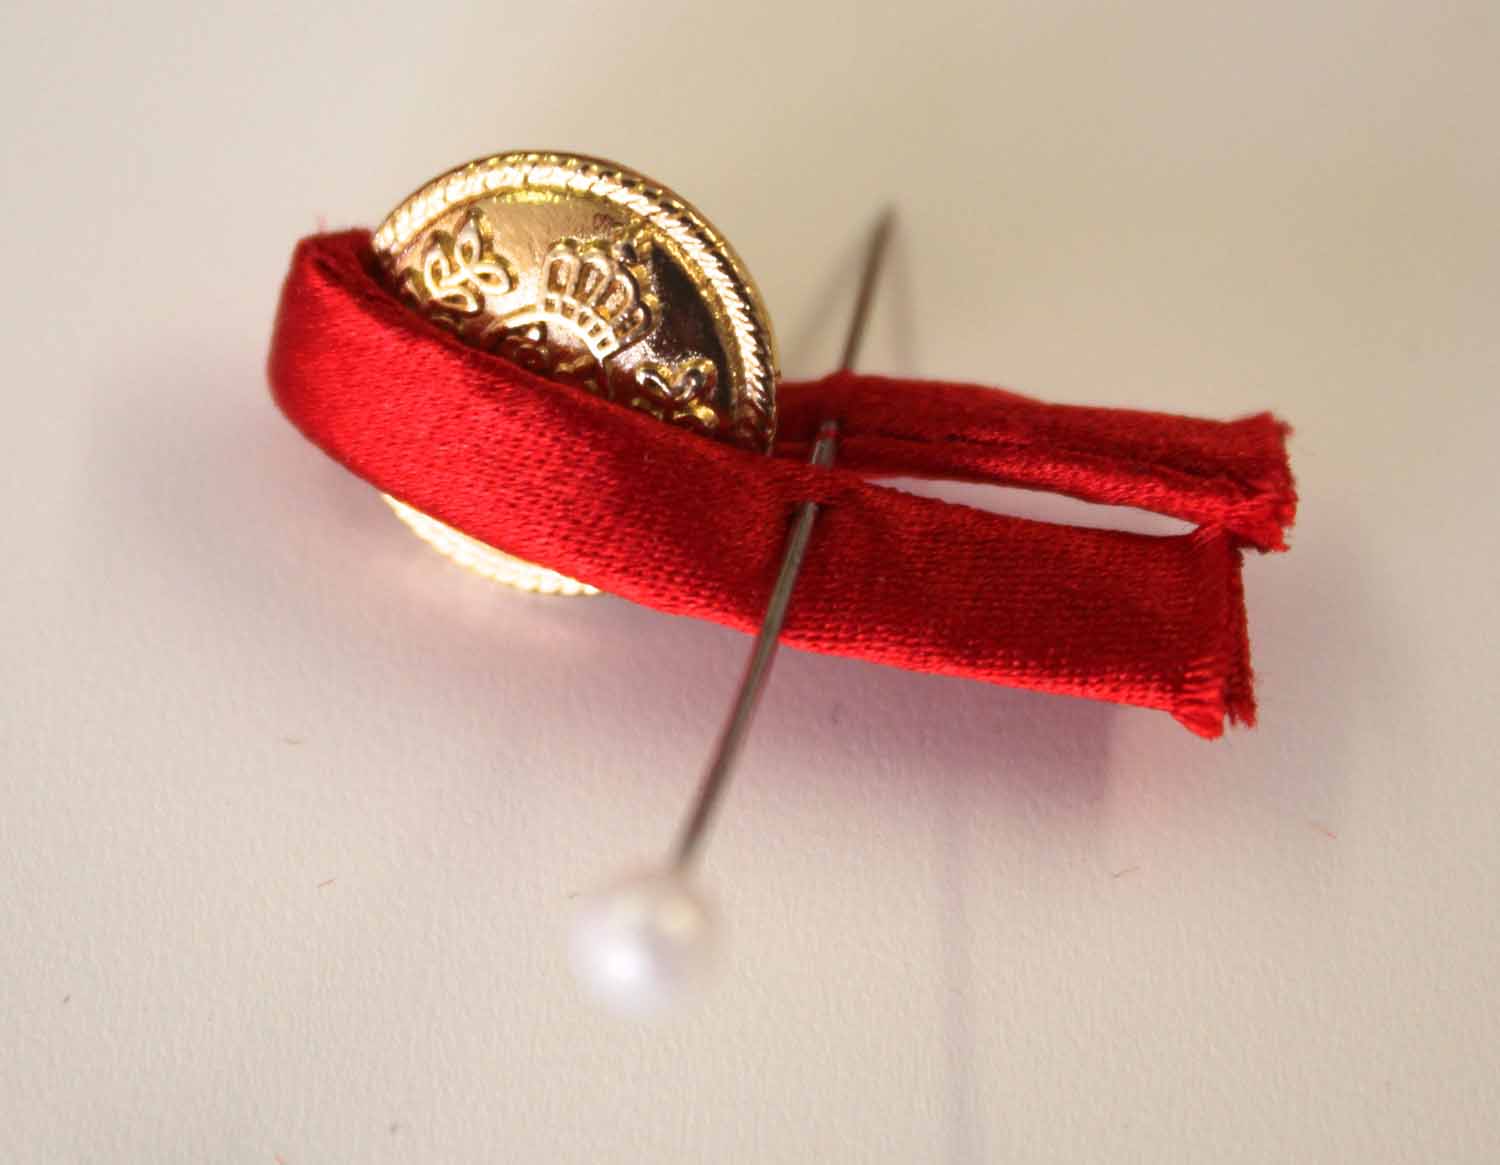
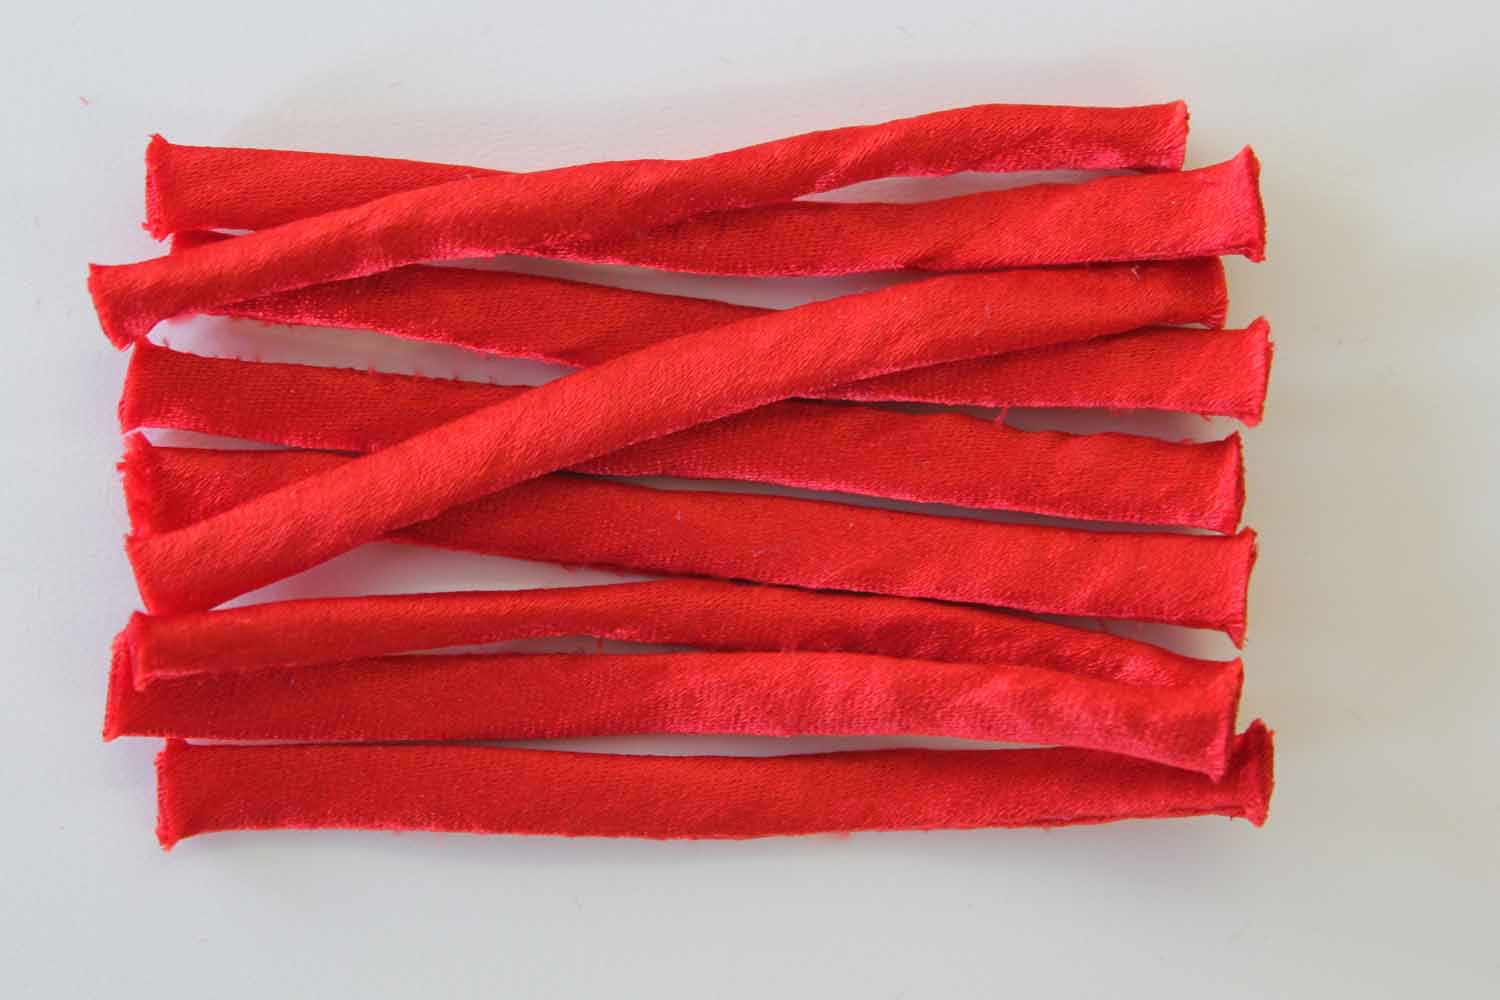
Cut enough loops for each button…
Mark out the spacing for your button loops onto the fabric within the seam allowance, making sure the top button is right at the top of the opening. I like my buttons be be close together as it makes more of an impact, here I have spaced them at 1 inch.

Pin the rouleau loops with the raw edge flush to the cut edge of the seam allowance. Making sure that the loop does not splay apart at the cut end…

With thick or chunky loops you may find that pins distort the loops and make it tricky to sew, here i have used sticky tape to hold the loops into position, you can stitch right through the tape and remove it afterwards. But please do a test on scraps of fabric and don’t leave the sticky tape on any longer than necessary as it may leave residue.

Next enclose the raw ends of the loops by attaching the lining, then understitch the seam adding strength to the seam and keeping it crisp. (For more on understitching look at this great tutorial by Ditto, on their blog…).

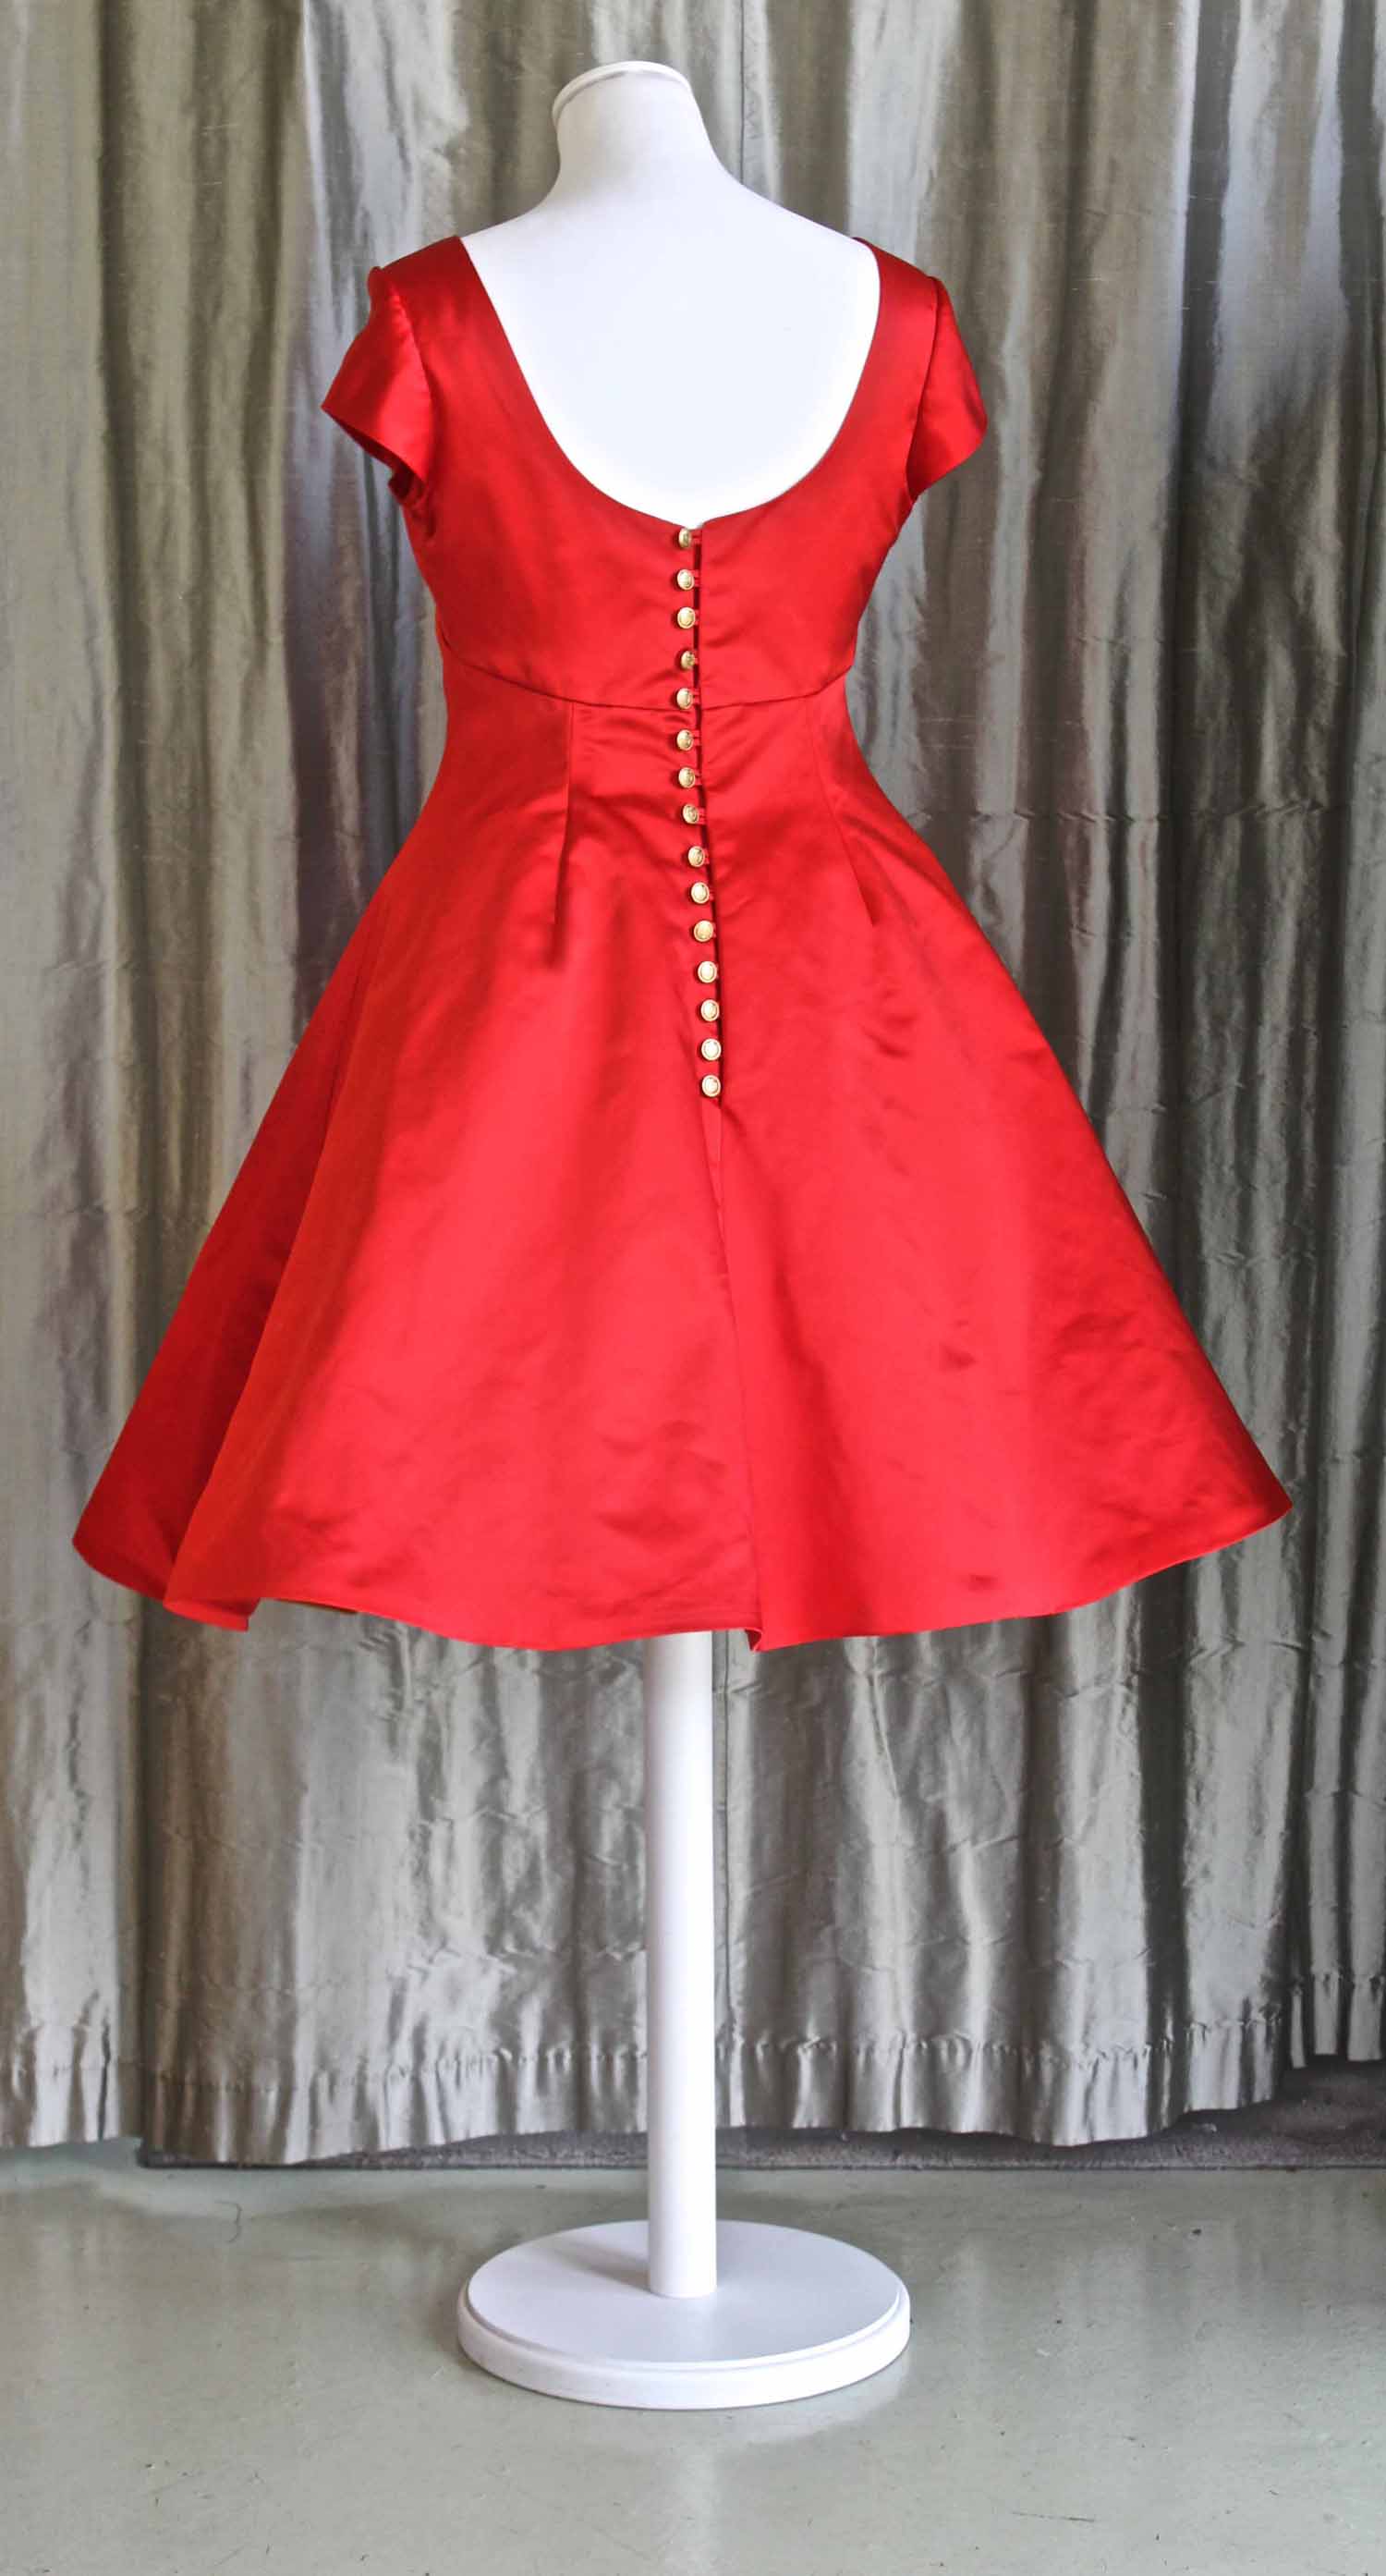
I love the finished result, you just can’t beat a row of little buttons!
